

Beyond the Swim Cap: How StyldLife CEO Julie Floyd Mastered Natural Hair Care for an Active Swim Lifestyles
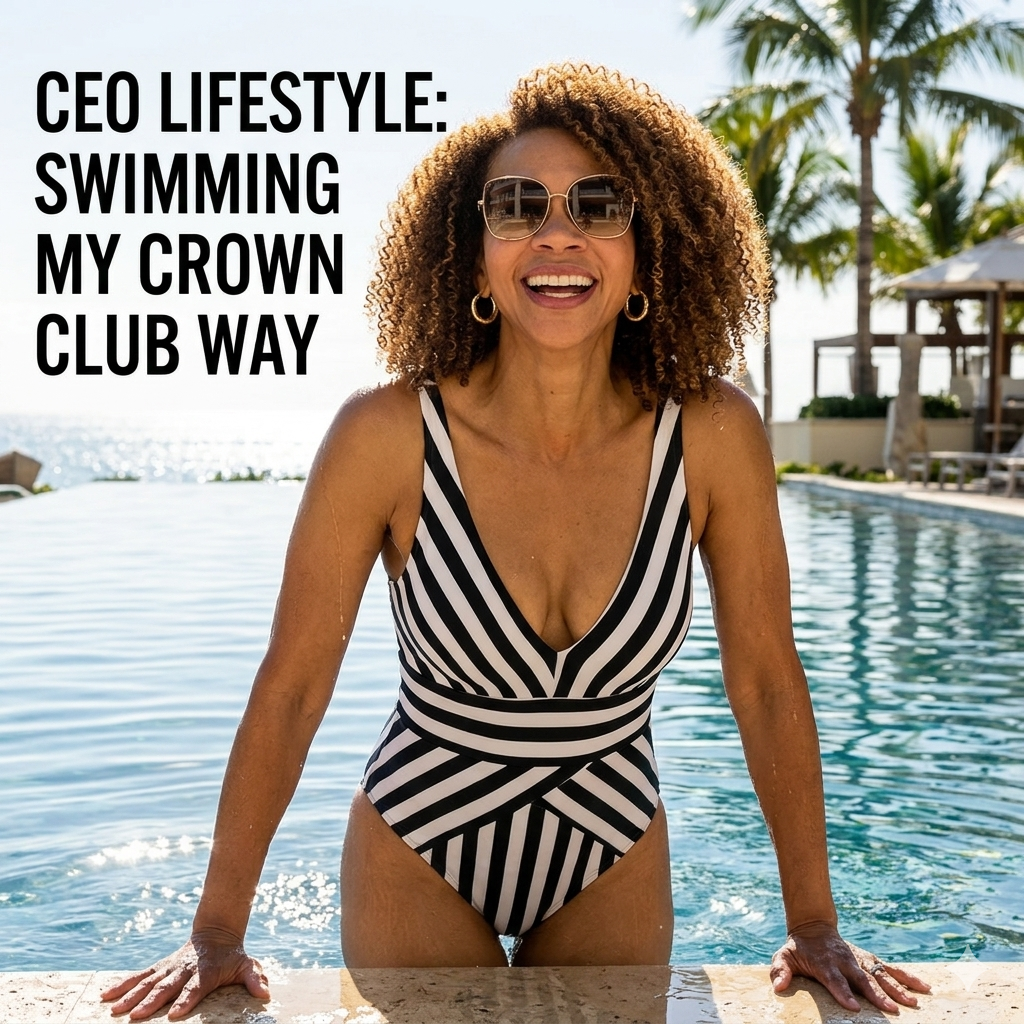
For decades, an unwritten law seemed to govern the lives of Black women across the globe: water and hair care simply do not mix. From avoiding pool parties to skipping workouts for fear of ruining a fresh press, the anxiety around moisture—specifically chlorine and salt water—has long served as a barrier to swimming, physical fitness, and aquatic leisure.
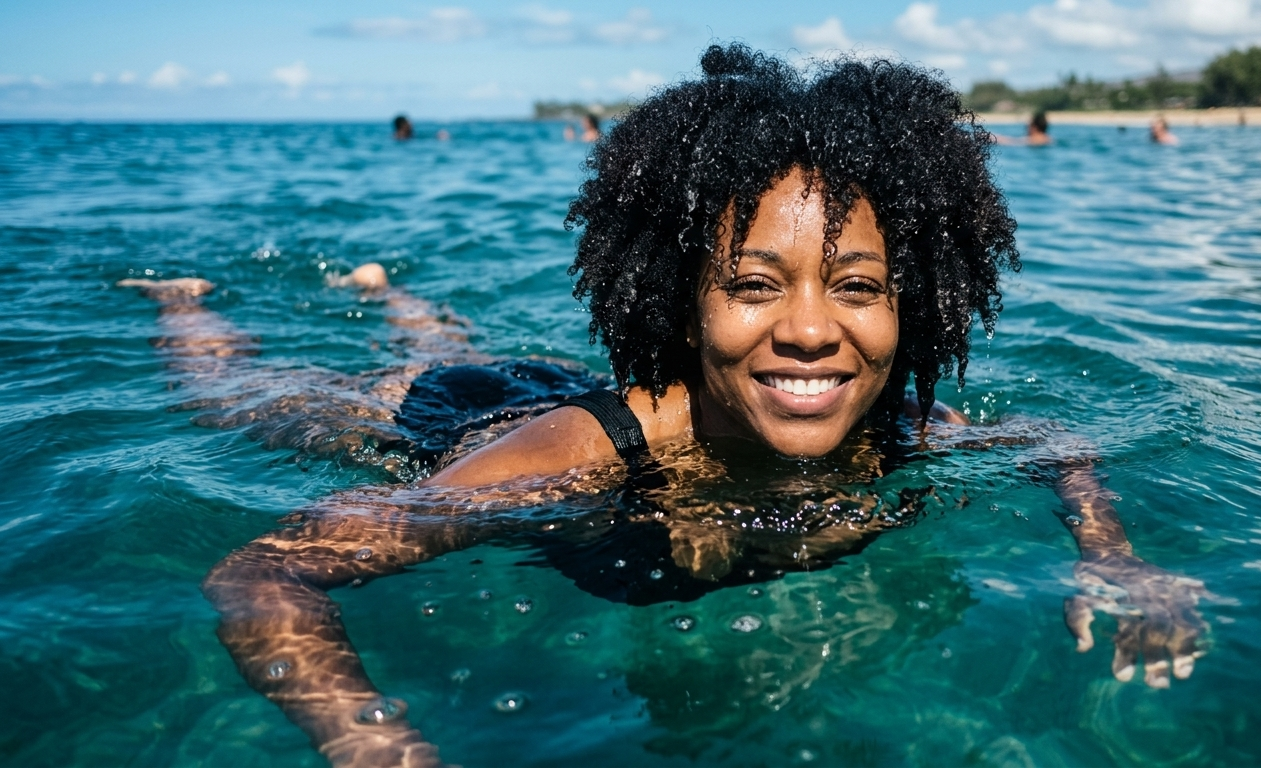
This tension reached mainstream public discourse when former First Lady Michelle Obama candidly reflected on how hair care routines dictate lifestyle choices for Black women, noting how often natural hair texture and heat-styled locks prevent women from getting in the pool. Watch Michelle's video here.
Enter Julie Floyd, CEO of StyldLife Crown Club.
Julie isn’t just challenging the narrative that natural hair holds women back from aquatic activities—she is dismantling it entirely. Armed with science, proven techniques, and a carefully curated regimen, Julie demonstrates that natural-haired women can enjoy swimming without sacrificing the health, length, or beauty of their coils.
Here is an in-depth breakdown of Julie’s step-by-step swim care routine, detailing the science, tools, and best practices that make swimming with natural hair seamless, empowering, and protective.
1. The Pre-Swim Routine: Saturate, Shield, and Secure
The biggest mistake anyone with textured hair can make is diving into a pool with dry, unprotected strands. Dry hair acts like a sponge, immediately soaking up chlorine, heavy metals, and pool chemicals that strip natural oils and cause severe breakage. Julie’s pre-swim routine creates a physical and hydrologic barrier before her head ever touches the water.
1. Saturate hair thoroughly with clean, fresh tap water
2. Divide hair into two clean, manageable sections
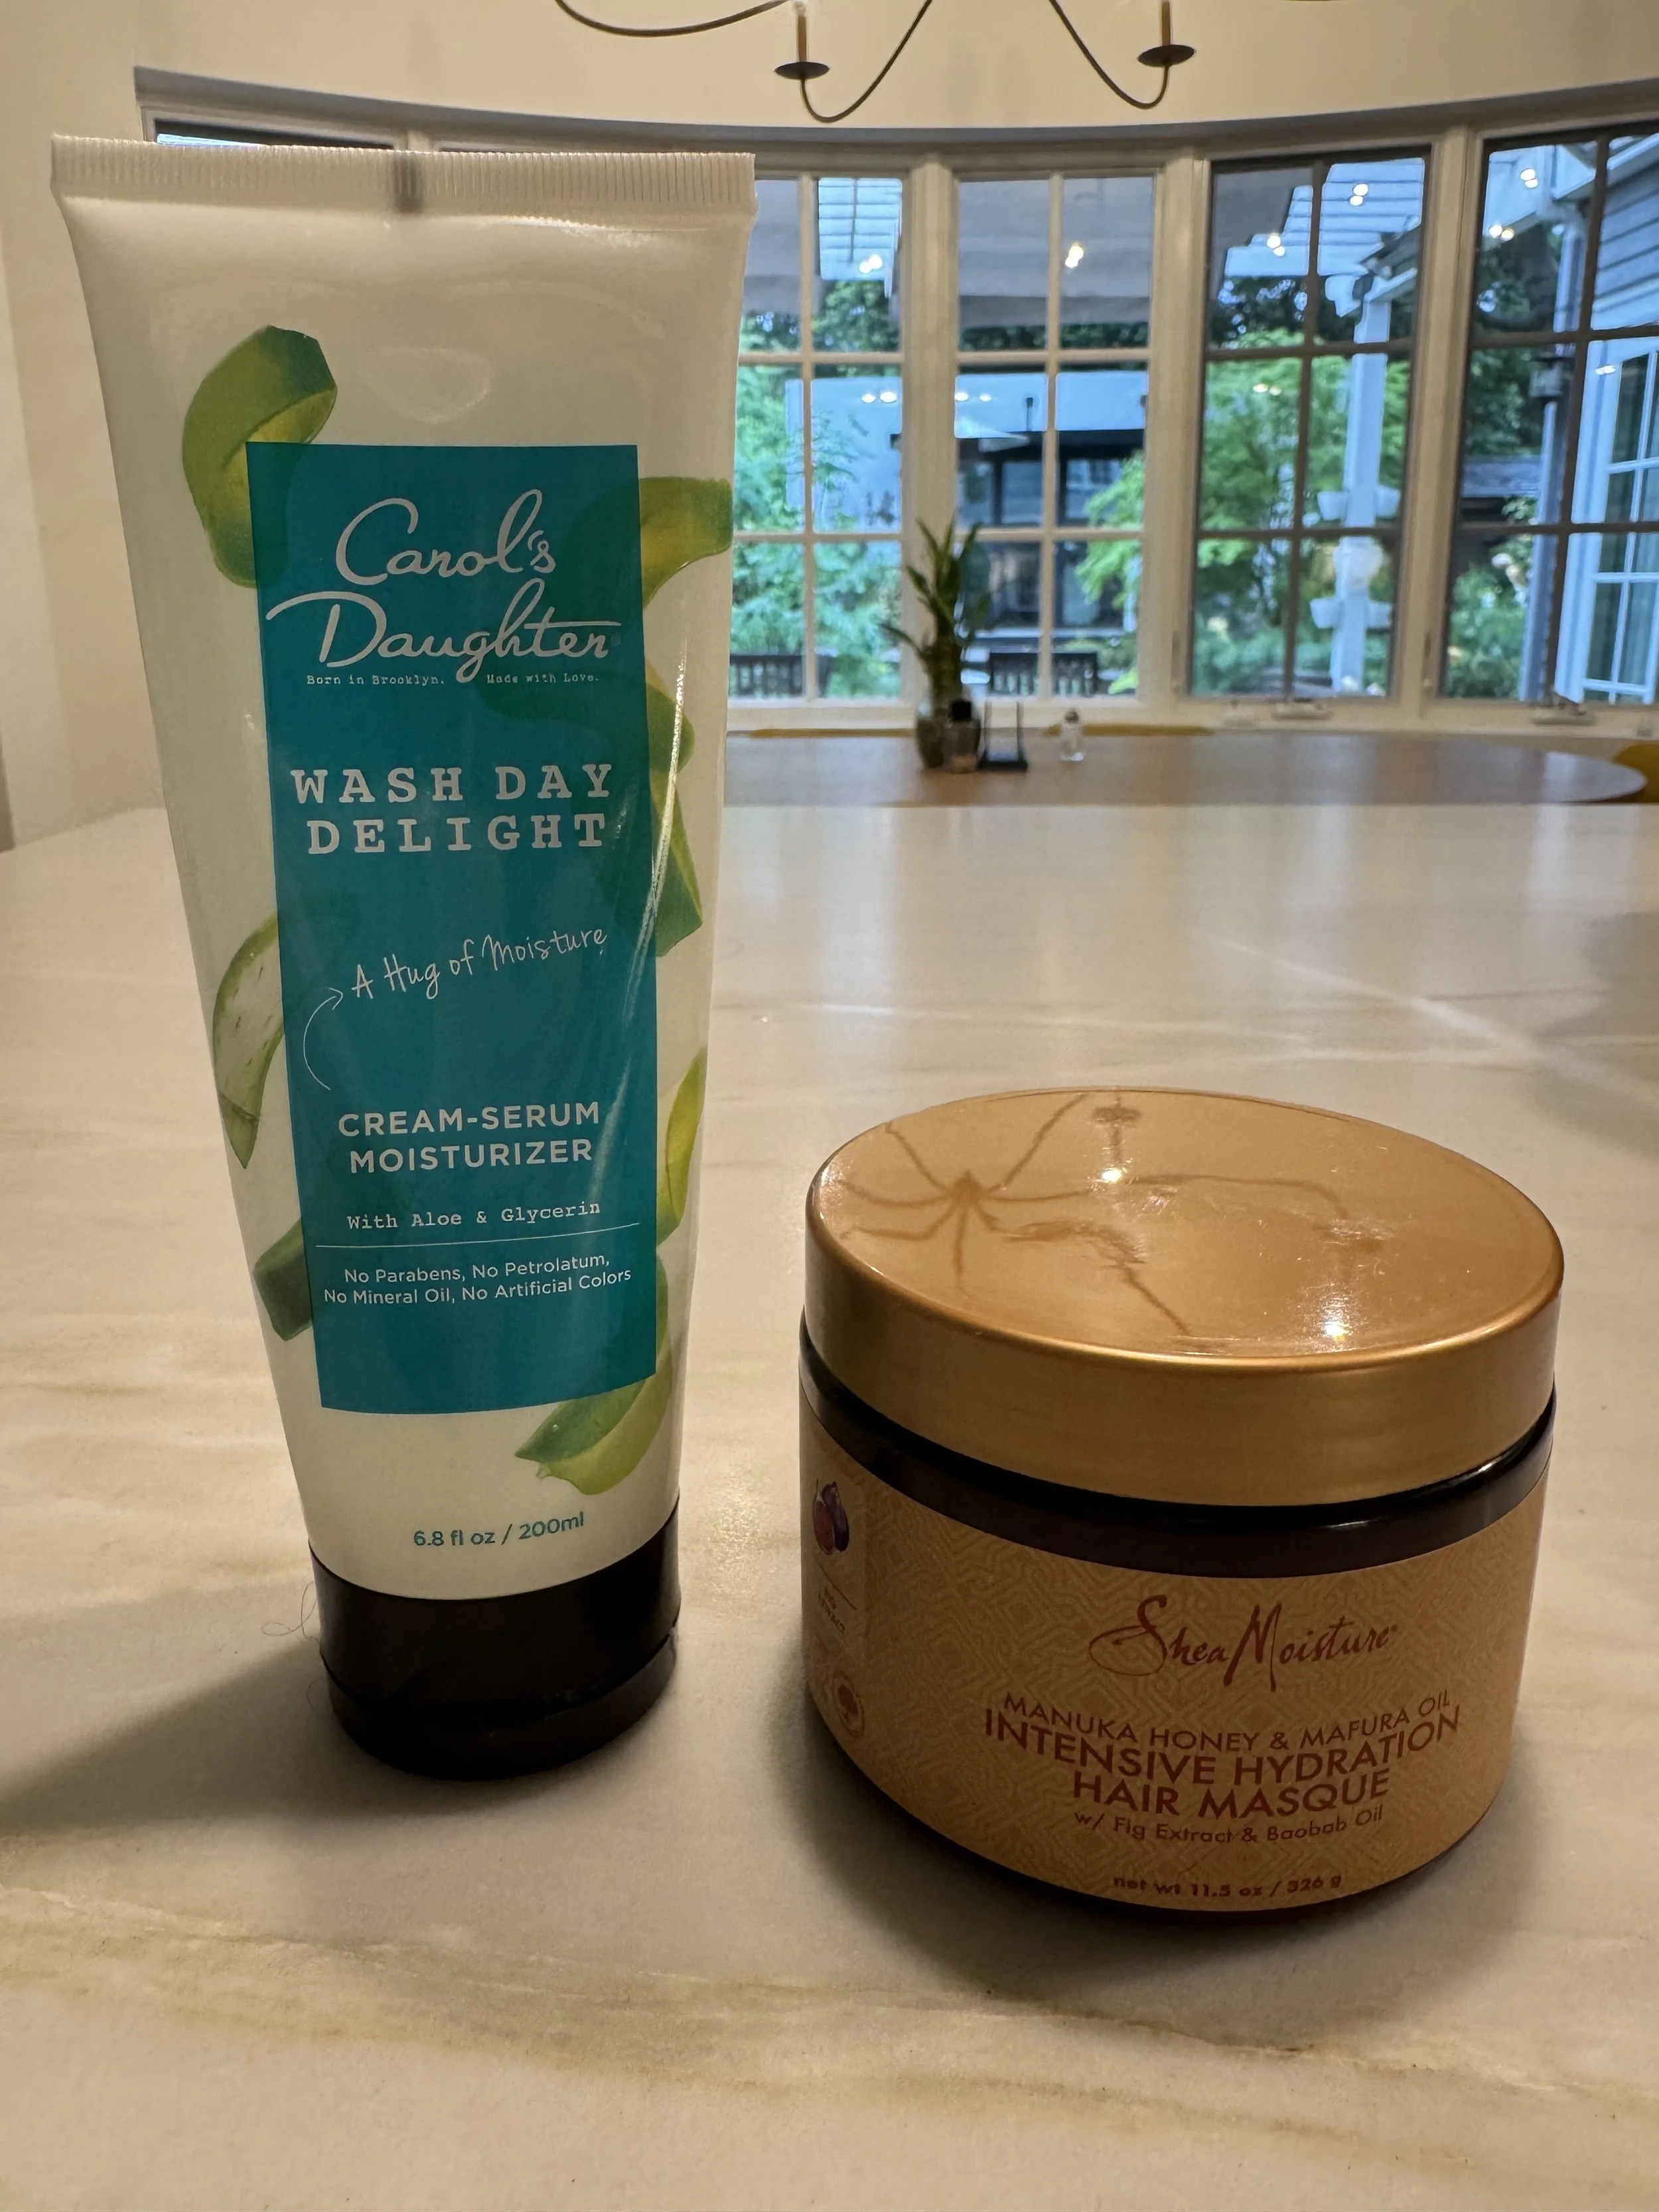
3. Apply an Intensive Hydration Hair Mask + Wash Day Delight
4. Work through in small sections using the Bounce Curl Brush
5. Secure into two tight protective braids
6. Tuck both braids under a high-quality swim cap
Step 1: Clean Water Saturation (The Sponge Effect)
Before entering the pool area, Julie thoroughly soaks her hair with fresh tap water. Hair shafts can only absorb a finite amount of liquid. By saturating her coils with non-chlorinated water first, she limits the amount of pool water her hair can take in during her swim.
Step 2: Strategic Sectioning & Deep Masking
Once drenched, Julie divides her hair into two primary sections. She applies an Intensive Hydration Hair Mask combined with Wash Day Delight treatment. This layer acts as a protective barrier coat:
The Mask: Creates a slick hydrophobic barrier that wards off chlorine absorption.
The Detangler/Cleanser: Begins breaking down impurities while keeping strands supple.
Step 3: Precise Detangling
Using a Bounce Curl Brush, Julie works through small subsections from ends to roots. Detangling prior to swimming prevents knotting and matting caused by water turbulence and swim caps.
Step 4: The Protective Braid & Cap Setup
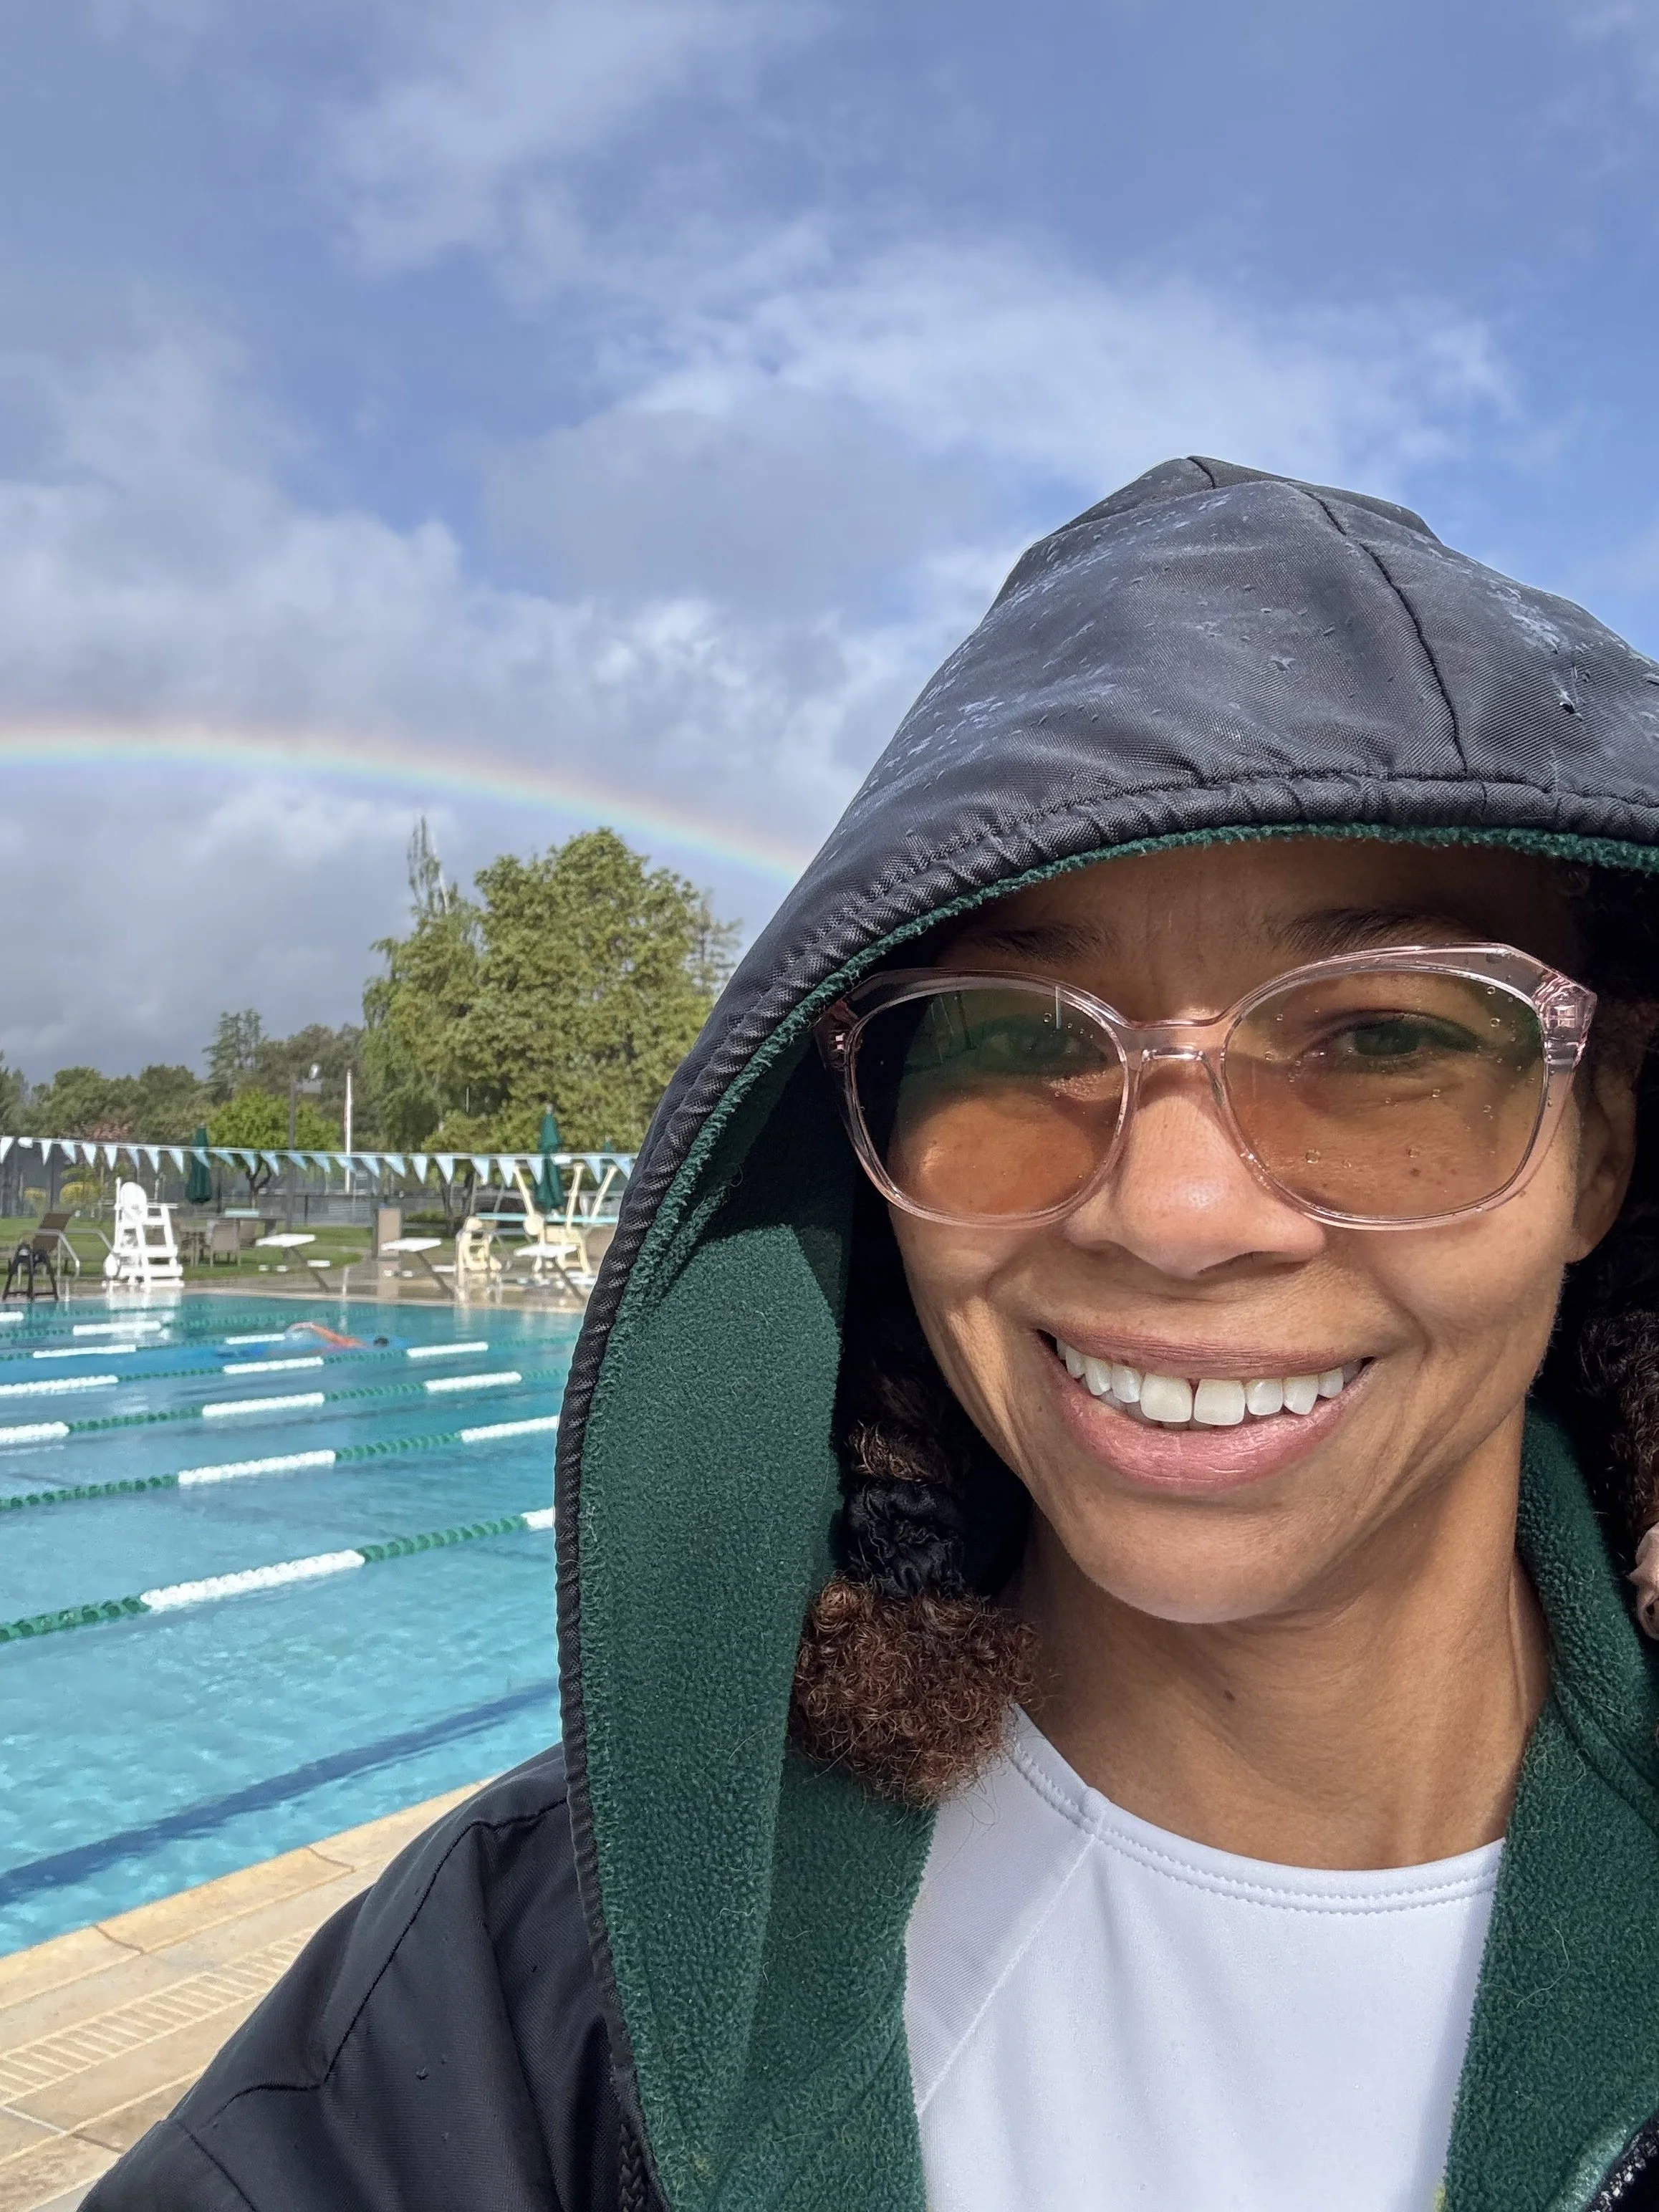
After detangling, Julie plaits her hair into two neat braids (as seen in her pool selfie, tucked under her jacket hood) and tucks them snugly under a tight silicone swim cap. This prevents friction, minimizes tangling, and keeps the protective mask locked against her hair cuticle throughout her workout.
2. Post-Swim Wash Day Process: Purging Chlorine and Restoring Moisture
After stepping out of the water, the real restoration begins. Chlorine is a harsh oxidizing agent that chemically bonds to hair proteins, leading to brittleness, color fading, and dryness if left untreated. Julie’s post-swim cleansing routine is a multi-step process designed to remove chemicals while delivering immediate hydration.
1. Side-Rinse in the shower using a wide-tooth comb
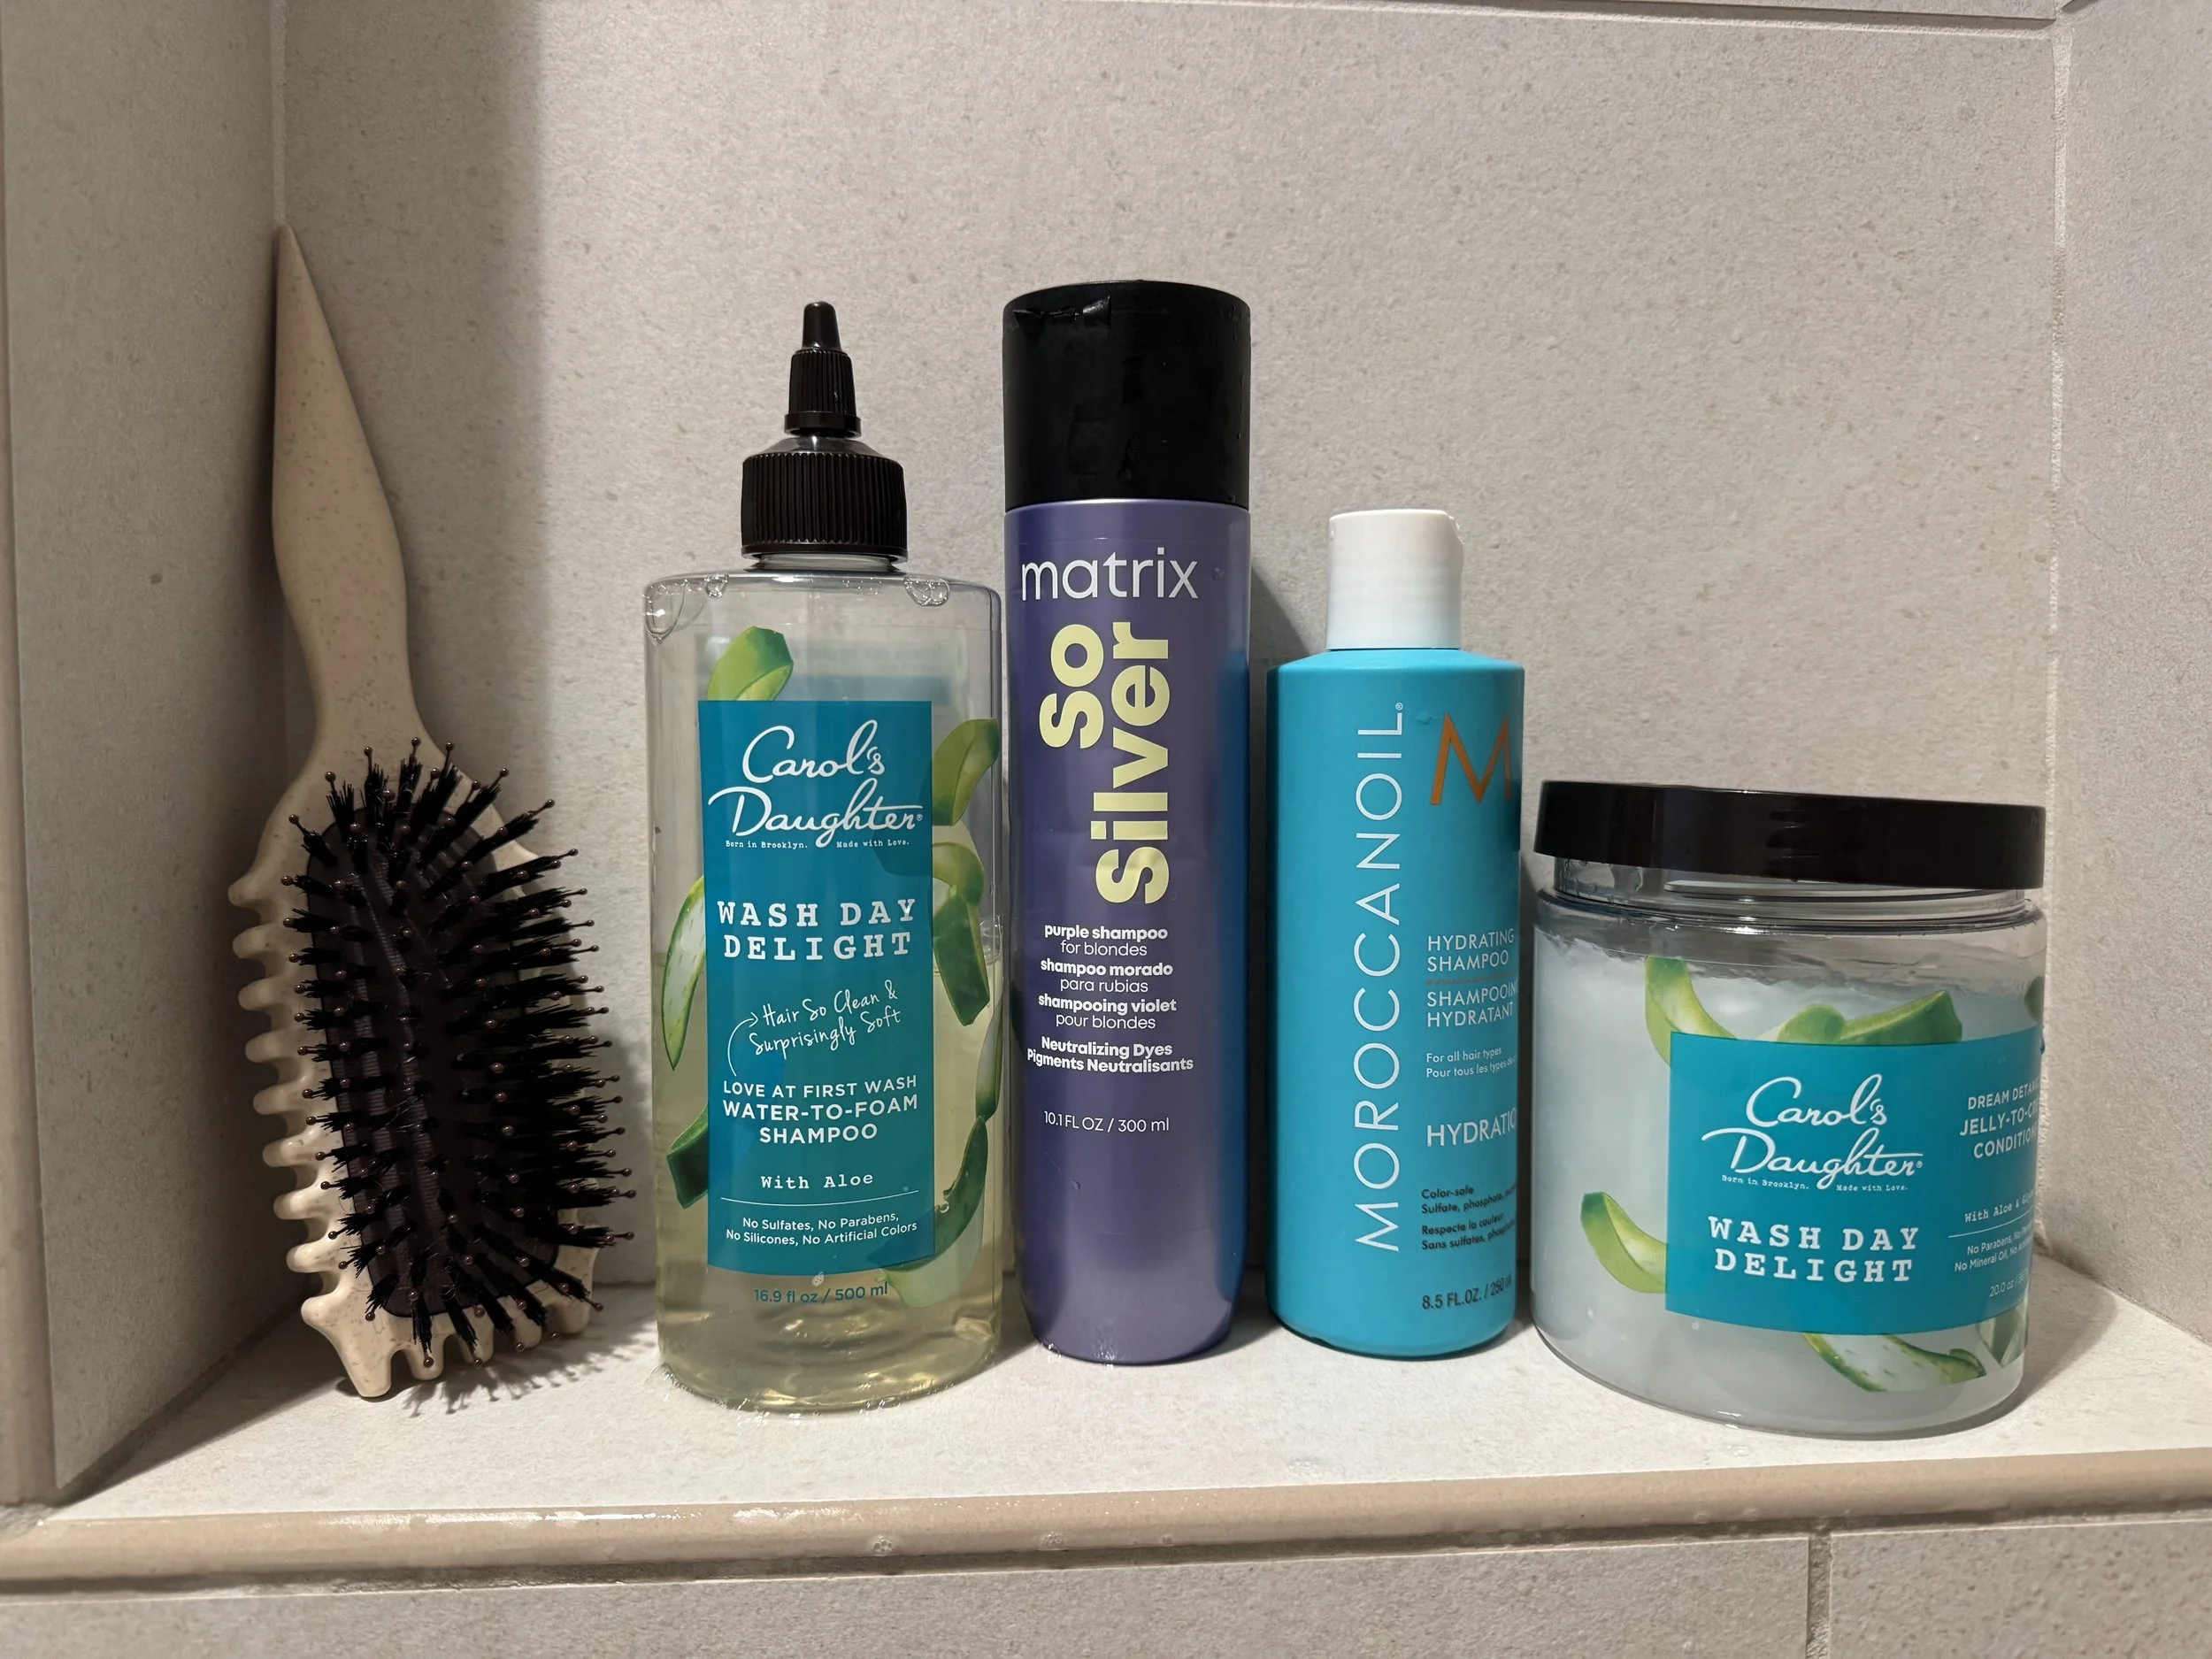
2. Lather Roots-to-Ends using 3 Targeted Shampoos:
• Carol's Daughter Wash Day Delight (Water-to-Foam Aloe Cleanser)
• Matrix So Silver Shampoo (Color & Tone Neutralization)
• Moroccanoil Hydrating Shampoo (Moisture Restoration)
• Note: Smooth shampoo straight down (never bunch or rub)
3. Thorough Rinse
4. Section hair into 4 quadrants
5. Apply Carol's Daughter Jelly-to-Cream Conditioning Treatment
The Side-Rinse and Gentle Comb-Through
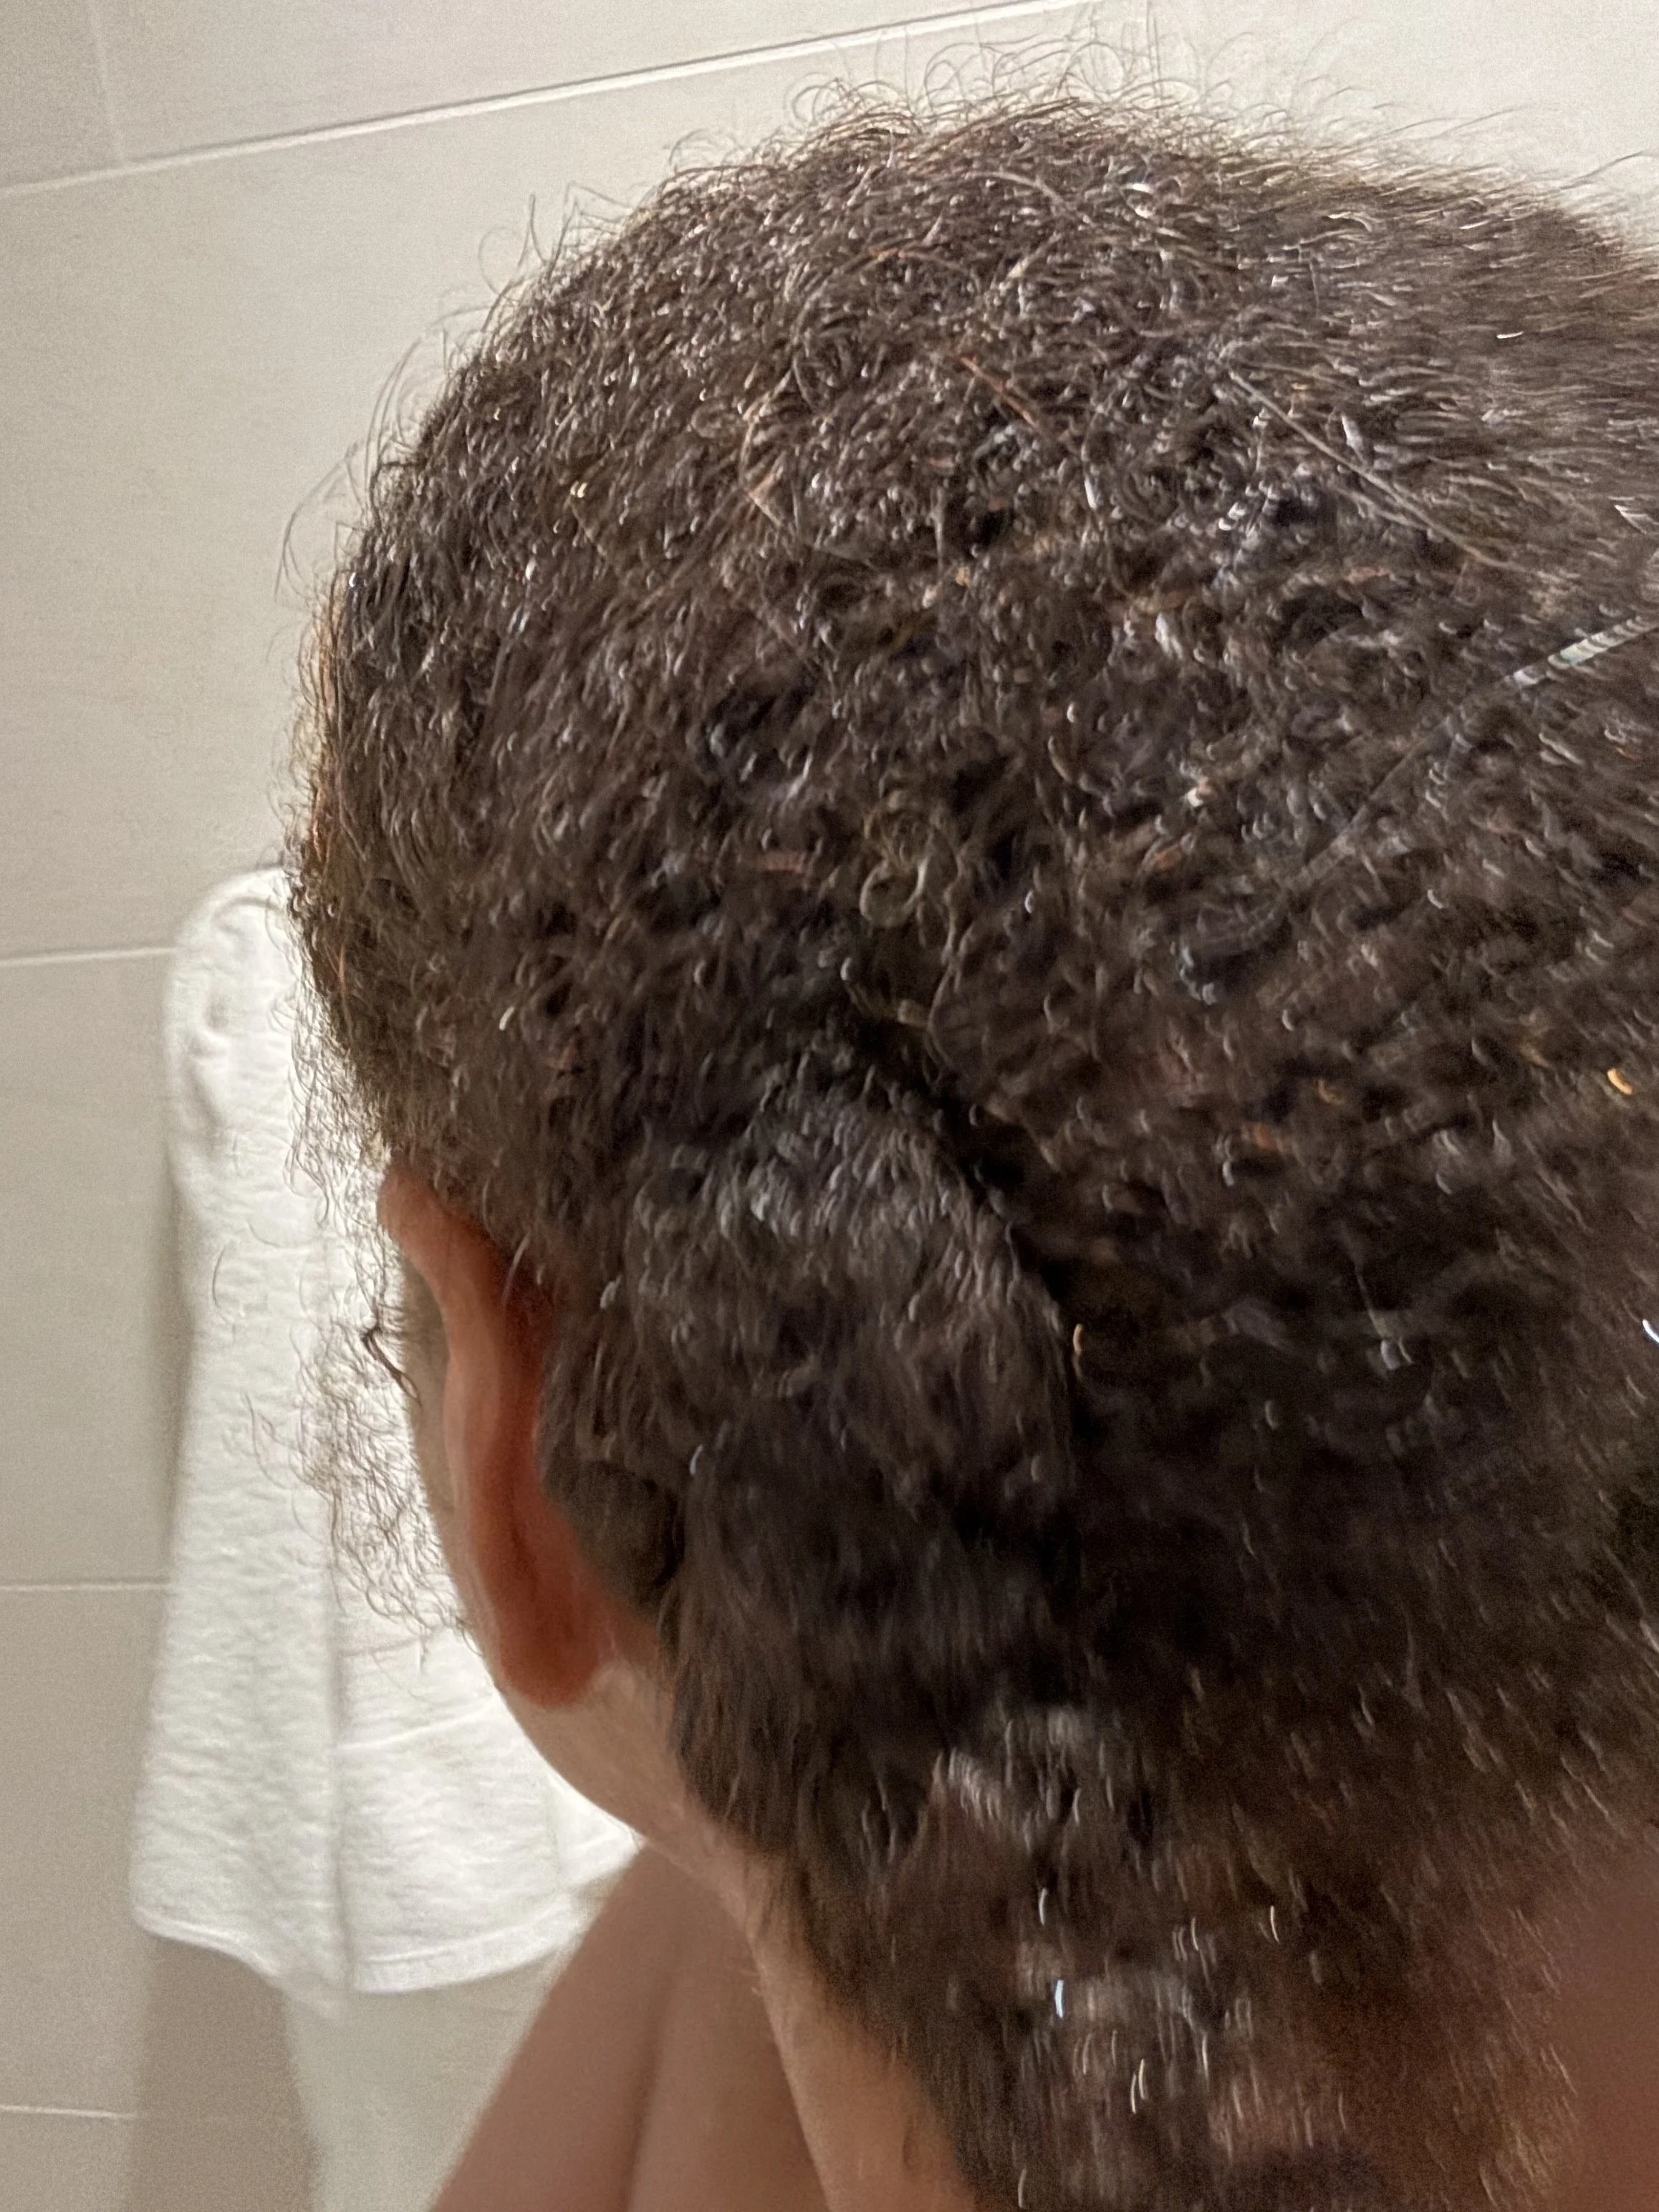
Immediate action is key. In the shower, Julie leans her head to one side and lets fresh warm water wash out pool residue, gently guiding a wide-tooth comb through her hair section by section to loosen any shed hair.
The Triple-Shampoo Protocol
To ensure her coils are completely free of chemicals without stripping her natural moisture balance, Julie relies on a high-performance lineup of specialized cleansers:
Carol’s Daughter Wash Day Delight Water-to-Foam Shampoo (with Aloe): A lightweight formula with an applicator tip that penetrates dense roots, dissolving chlorine and scalp buildup effortlessly.
Matrix So Silver Purple Shampoo: Essential for color-treated or lightened natural hair (like Julie's honey-blonde highlights). Purple shampoo neutralizes brassiness, green chlorine cast, and discoloration caused by pool minerals.
Moroccanoil Hydrating Shampoo: Reintroduces essential fatty acids, argan oil, and moisture right back into the hair shaft after clarifying.
Julie’s Pro Technique: When applying shampoo, lather from roots to ends in a smooth, downward motion. Never bunch hair up on top of the head or scrub vigorously in circles—this causes friction, roughs up the hair cuticle, and creates stubborn tangles.
Sectioning and Initial Conditioning
After rinsing the shampoos thoroughly, Julie divides her hair into four equal quadrants and applies the Carol's Daughter Jelly-to-Cream Wash Day Delight Conditioner generously to warm, wet strands, preparing her coils for deep heat conditioning.
3. The Sauna Secret: Deep Heat Conditioning
Deep conditioning is elevated from a standard bathroom task to a spa-level restoration session through the application of heat.
Step 1: Secure the Bun
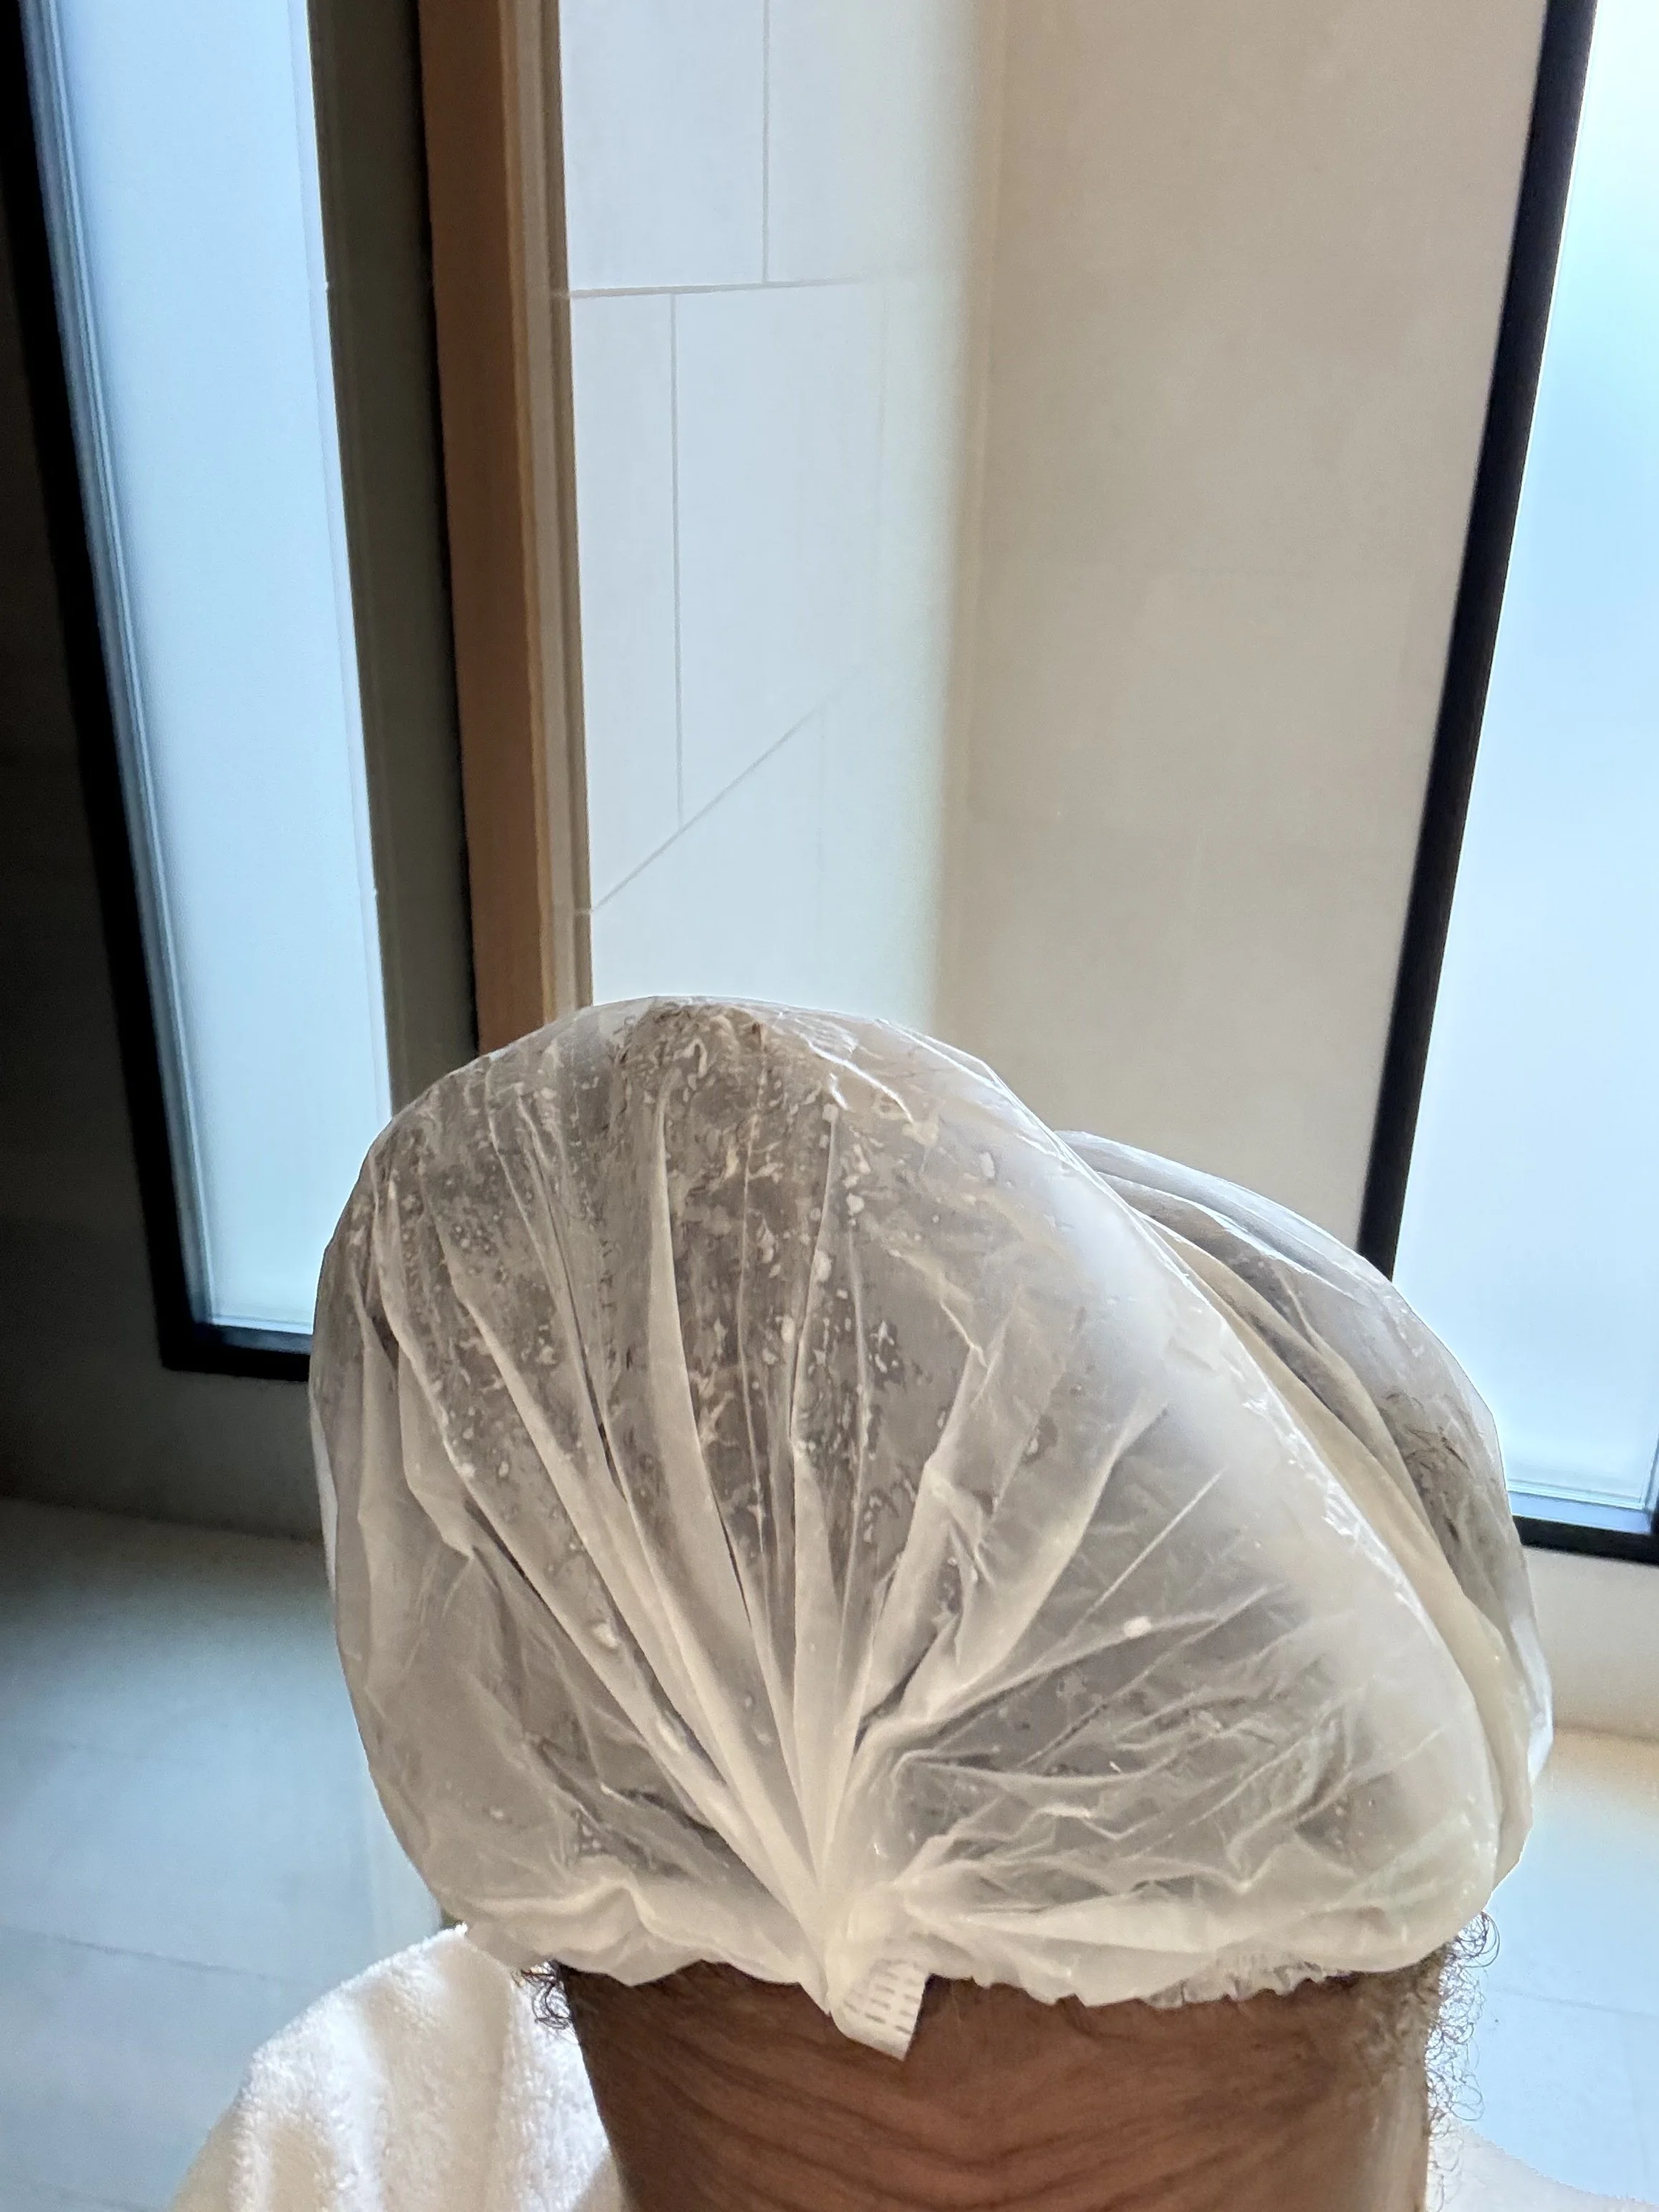
Julie pulls her conditioned hair into a loose top bun using a non-slip hair tie. Avoiding tight bands prevents tension breakage while the hair is in its most elastic, wet state.
Step 2: Paper Cap Coverage
She covers her hair with a paper shower cap. This traps steam and moisture, creating an insulated greenhouse environment around her scalp.
Step 3: The 20-Minute Sauna Session
Julie spends 20 minutes sitting in the sauna. The indirect, elevated heat opens up the tightly closed cuticle layers of high-porosity or coily hair, allowing the deep conditioning agents to penetrate straight into the cortex rather than just sitting on the surface.
4. Post-Sauna Styling: Defining, Sealing, and Diffusing
Once her sauna session is complete, Julie enters the final phase: rinsing, layering moisture, and defining her natural pattern.
1. Thorough Rinse & Sectional Detangle with Bounce Curl Brush
2. Gently squeeze minimal excess water (keep hair drench-wet)
3. Layer Leave-in Conditioner (Section by section, avoiding scalp)
4. Layer Hair Oil (Section by section, avoiding scalp)
5. Layer Gel or Mousse (Section by section, avoiding scalp)
6. Apply Heat Protectant (Briogeo Farewell Frizz)
7. Diffuse with specialized Dryer & Bowl Attachment
Rinsing and Soaking Application
Returning to the shower, Julie rinses the deep conditioner out completely while working through her hair section by section with her Bounce Curl brush.
Instead of towel-drying, she only gently squeezes out dripping excess water. Applying styling products to thoroughly drenched hair is critical for defining natural curl patterns and locking in maximum moisture.
The Layering Method (Avoiding Scalp Build-up)
Working in clean sections, Julie applies her leave-in styling products using a precise layering strategy:
Leave-in Conditioner: Adds hydration and slip.
Nourishing Hair Oil: Seals the hydrating water molecules into the hair shaft.
Styling Gel or Mousse: Provides hold, definition, and humidity protection.
Note: Julie carefully avoids applying heavy conditioners, oils, or gels directly onto her scalp, keeping her hair lightweight, volumetric, and scalp-pore clogging to a minimum.
Blow-Drying & Diffusing
To finish her look, Julie applies a heat protectant—such as Briogeo Farewell Frizz Heat Protectant Cream—before blow-drying with a professional-grade diffuser. Diffusing preserves the natural curl structure, adds incredible volume, and prevents frizz without exposing the hair to direct, scorching heat.
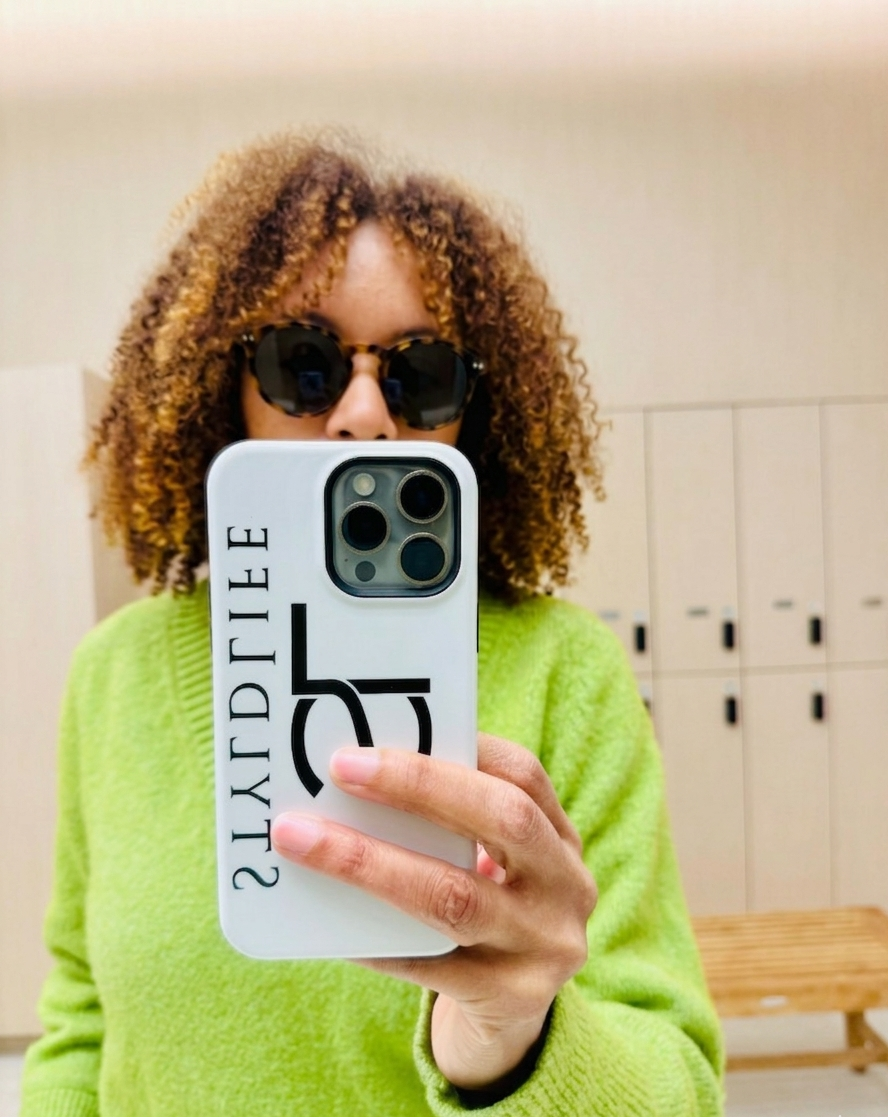
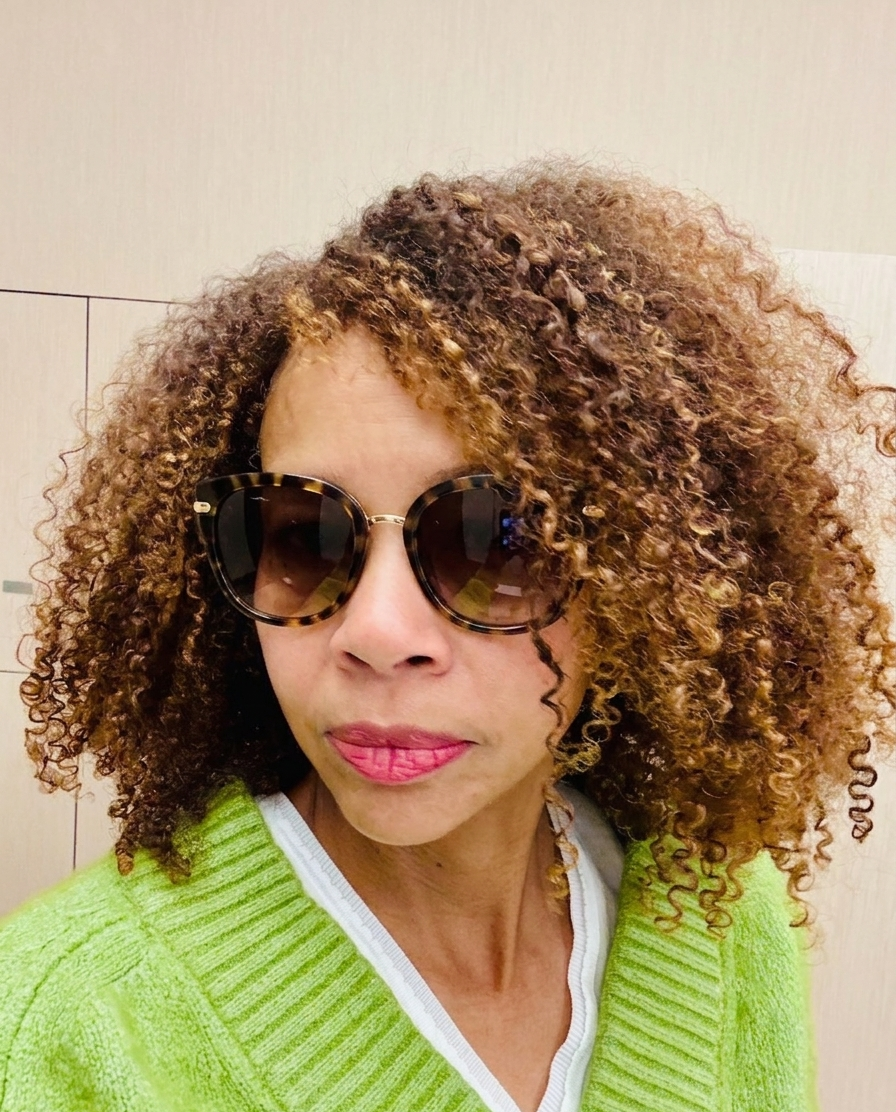
The Result: Crown Confidence Without Limits
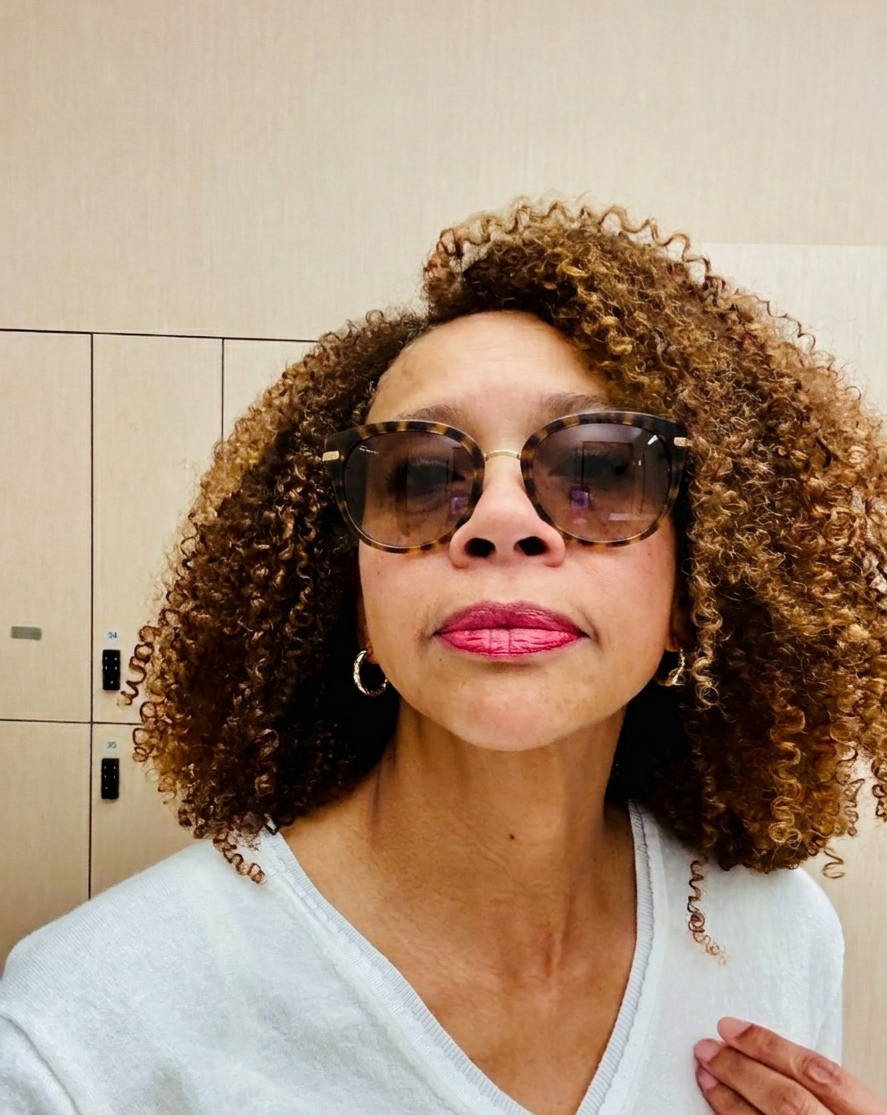
The proof of Julie Floyd’s method is evident in the results: healthy, vibrant, golden-bronze curls full of elasticity, volume, and shine.
Here is a bonus: watch Julie take a few laps around the pool.
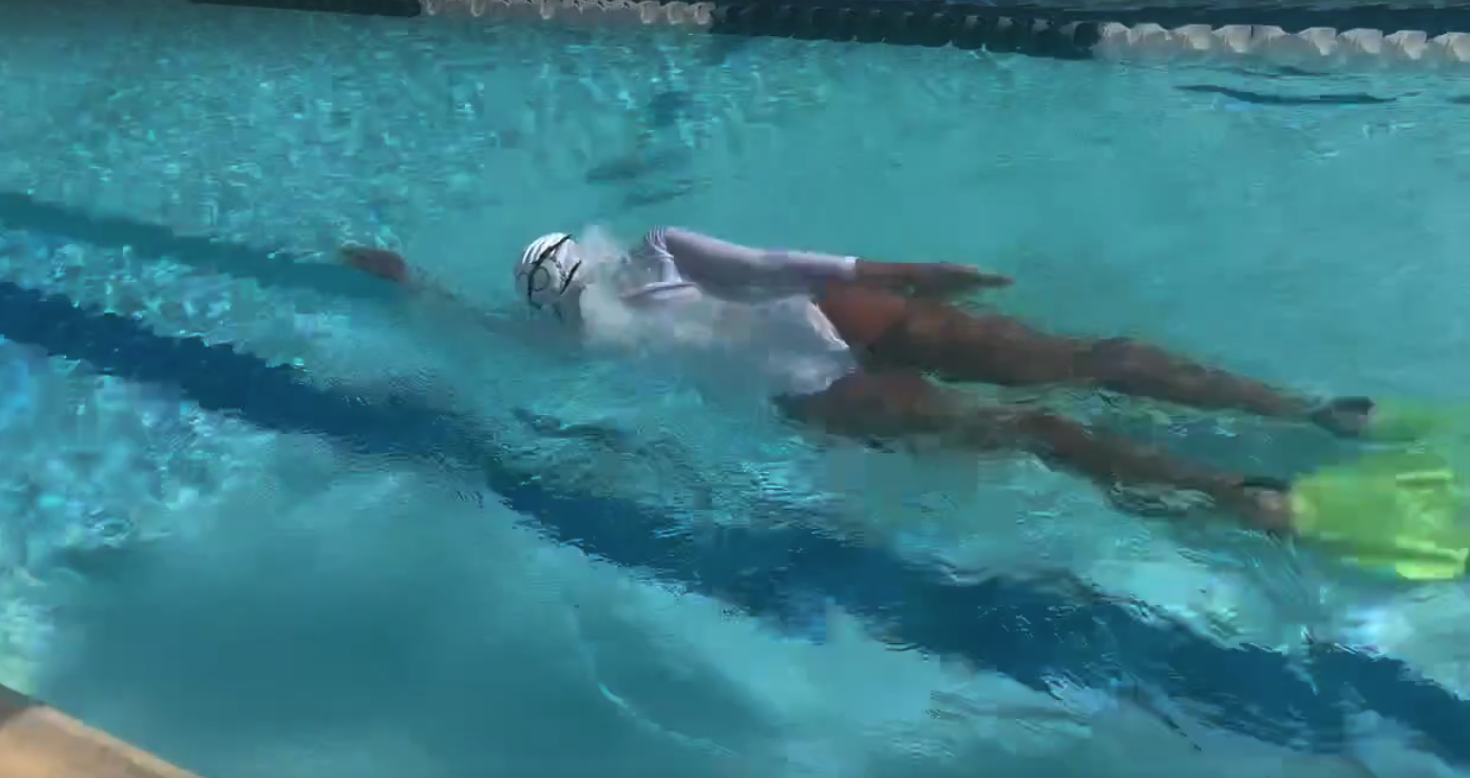
By refusing to choose between active living and hair health, Julie sets an example for the entire StyldLife Crown Club community. Natural hair does not have to be a restriction—it is versatile, resilient, and fully capable of thriving alongside an active lifestyle. With the right techniques, products, and preparation, you can enjoy the water and keep your crown shining.